Carrier's Guide to GST & Receipts
This is a detailed guide for Carriers on how to correctly declare and pay GST using the Singapore Customs web app and how to submit your receipts on Qerrier to get paid.
CRITICAL: READ THIS FIRST
Failure to declare items you bring into Singapore for a Qerrier job is a criminal offence under Singapore law. All Qerrier transactions are considered commercial goods and are not eligible for your personal GST relief. You must declare and pay 9% GST on all items, every time.
Part 1: Paying GST via the SG Customs Web App
You must do this after purchasing the item in Malaysia and before you cross the border into Singapore.
Step 1: Get the Requester's Full Legal Name
The customs app requires the "Importer's Name". This is the Requester, not you (the traveller). You will find this in the Qerrier app:
- Go to the chat for the active job.
- Tap the Requester's name at the top of the chat to open their reputation panel.
- Their Full Legal Name will be displayed there. You will need this for the customs app.
Step 2: Access the SG Customs Web App
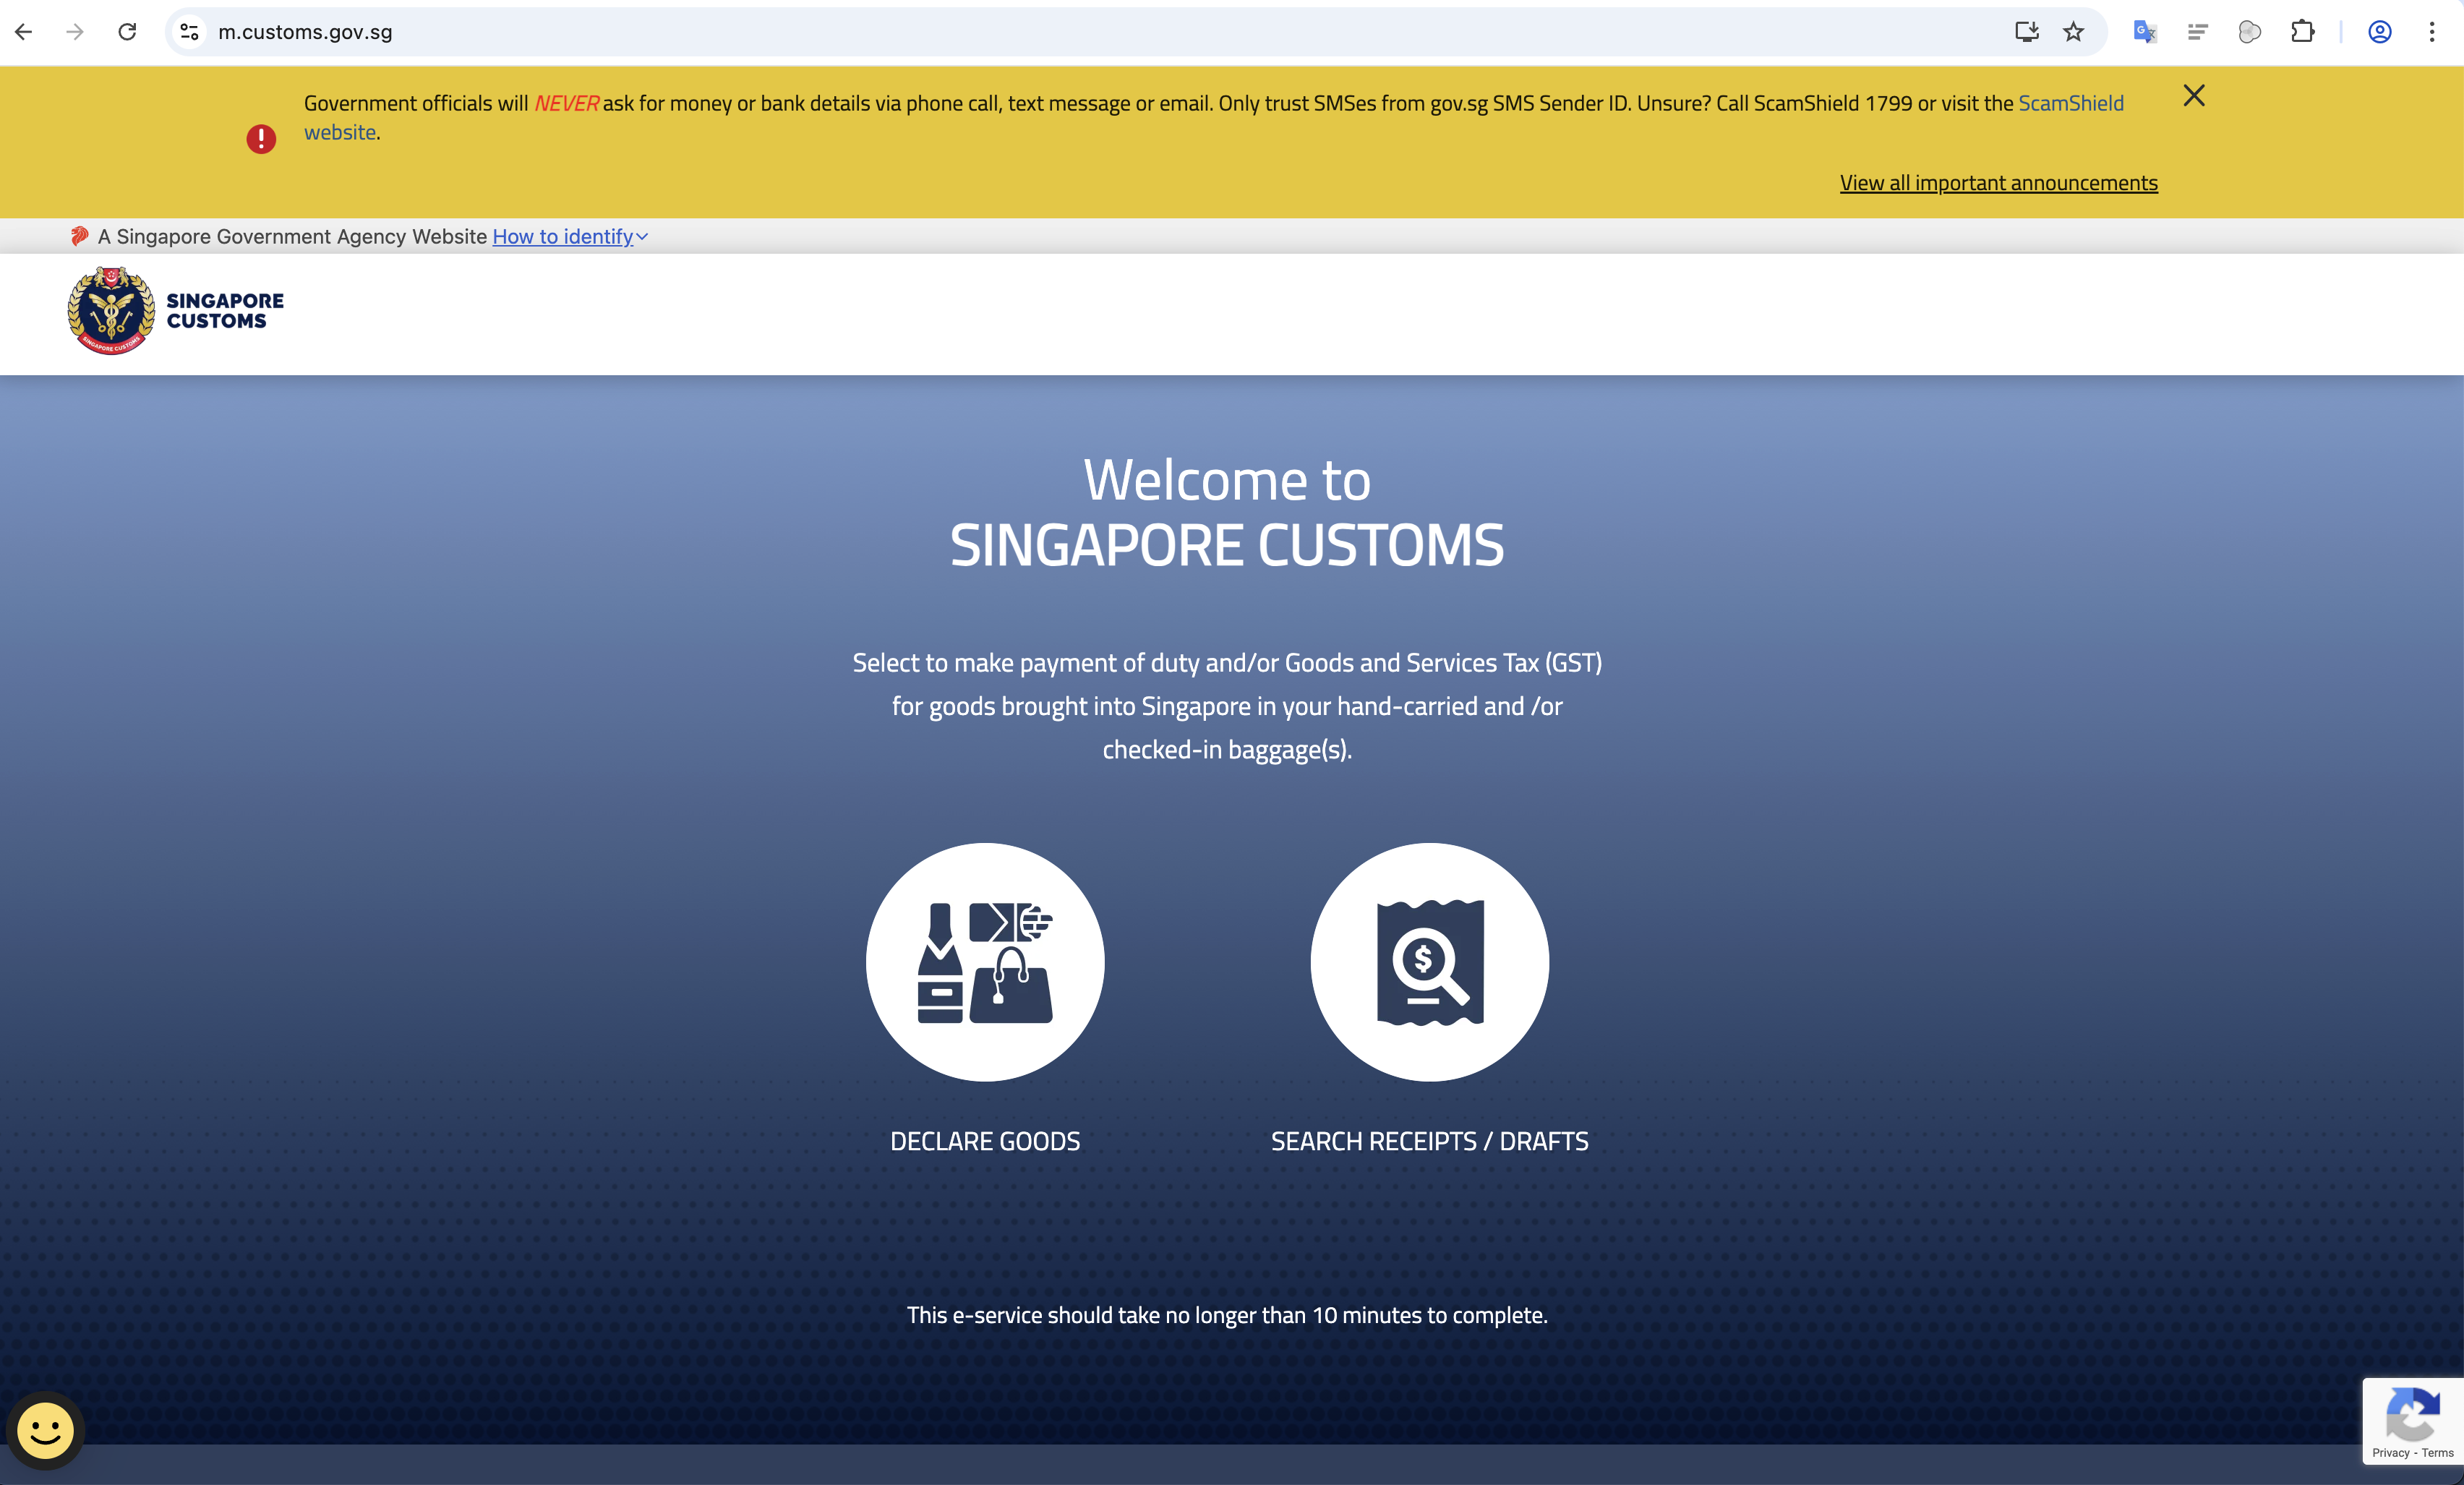
On your browser, go to the official web app at https://www.customs.gov.sg/eservices/customs-sg-web-application/.
On the homepage, select "DECLARE GOODS".
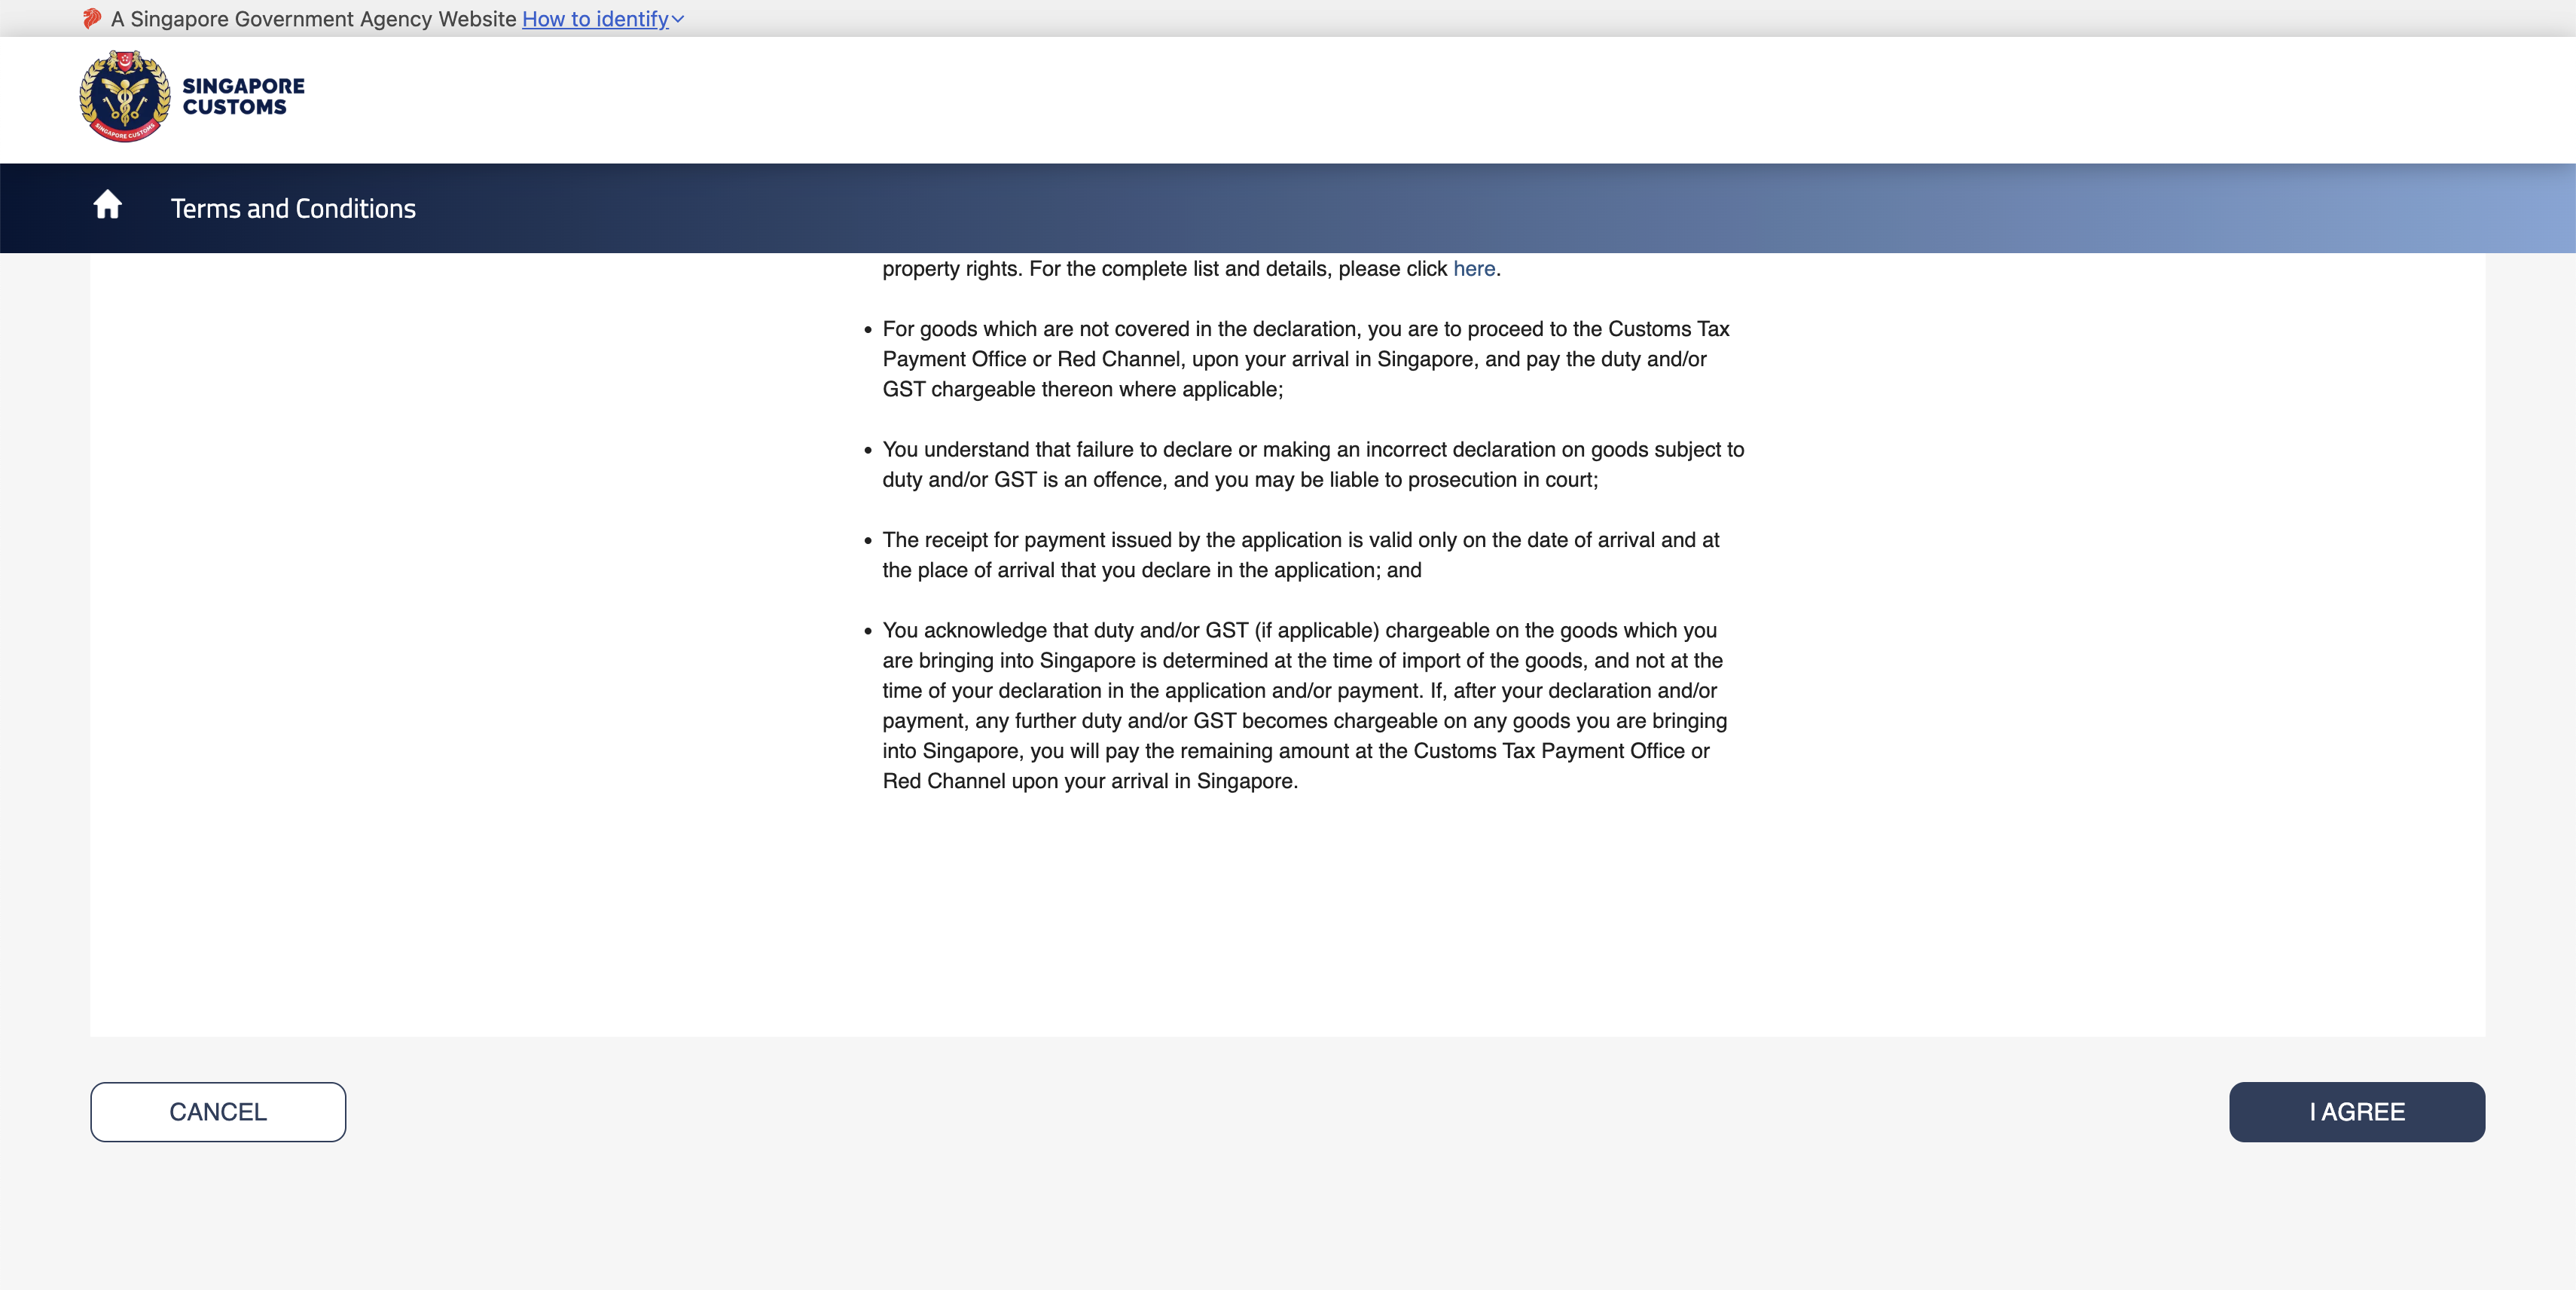
Step 3: Agree to Terms & Conditions
You will be shown the Terms & Conditions. Scroll to the bottom and click "I AGREE".
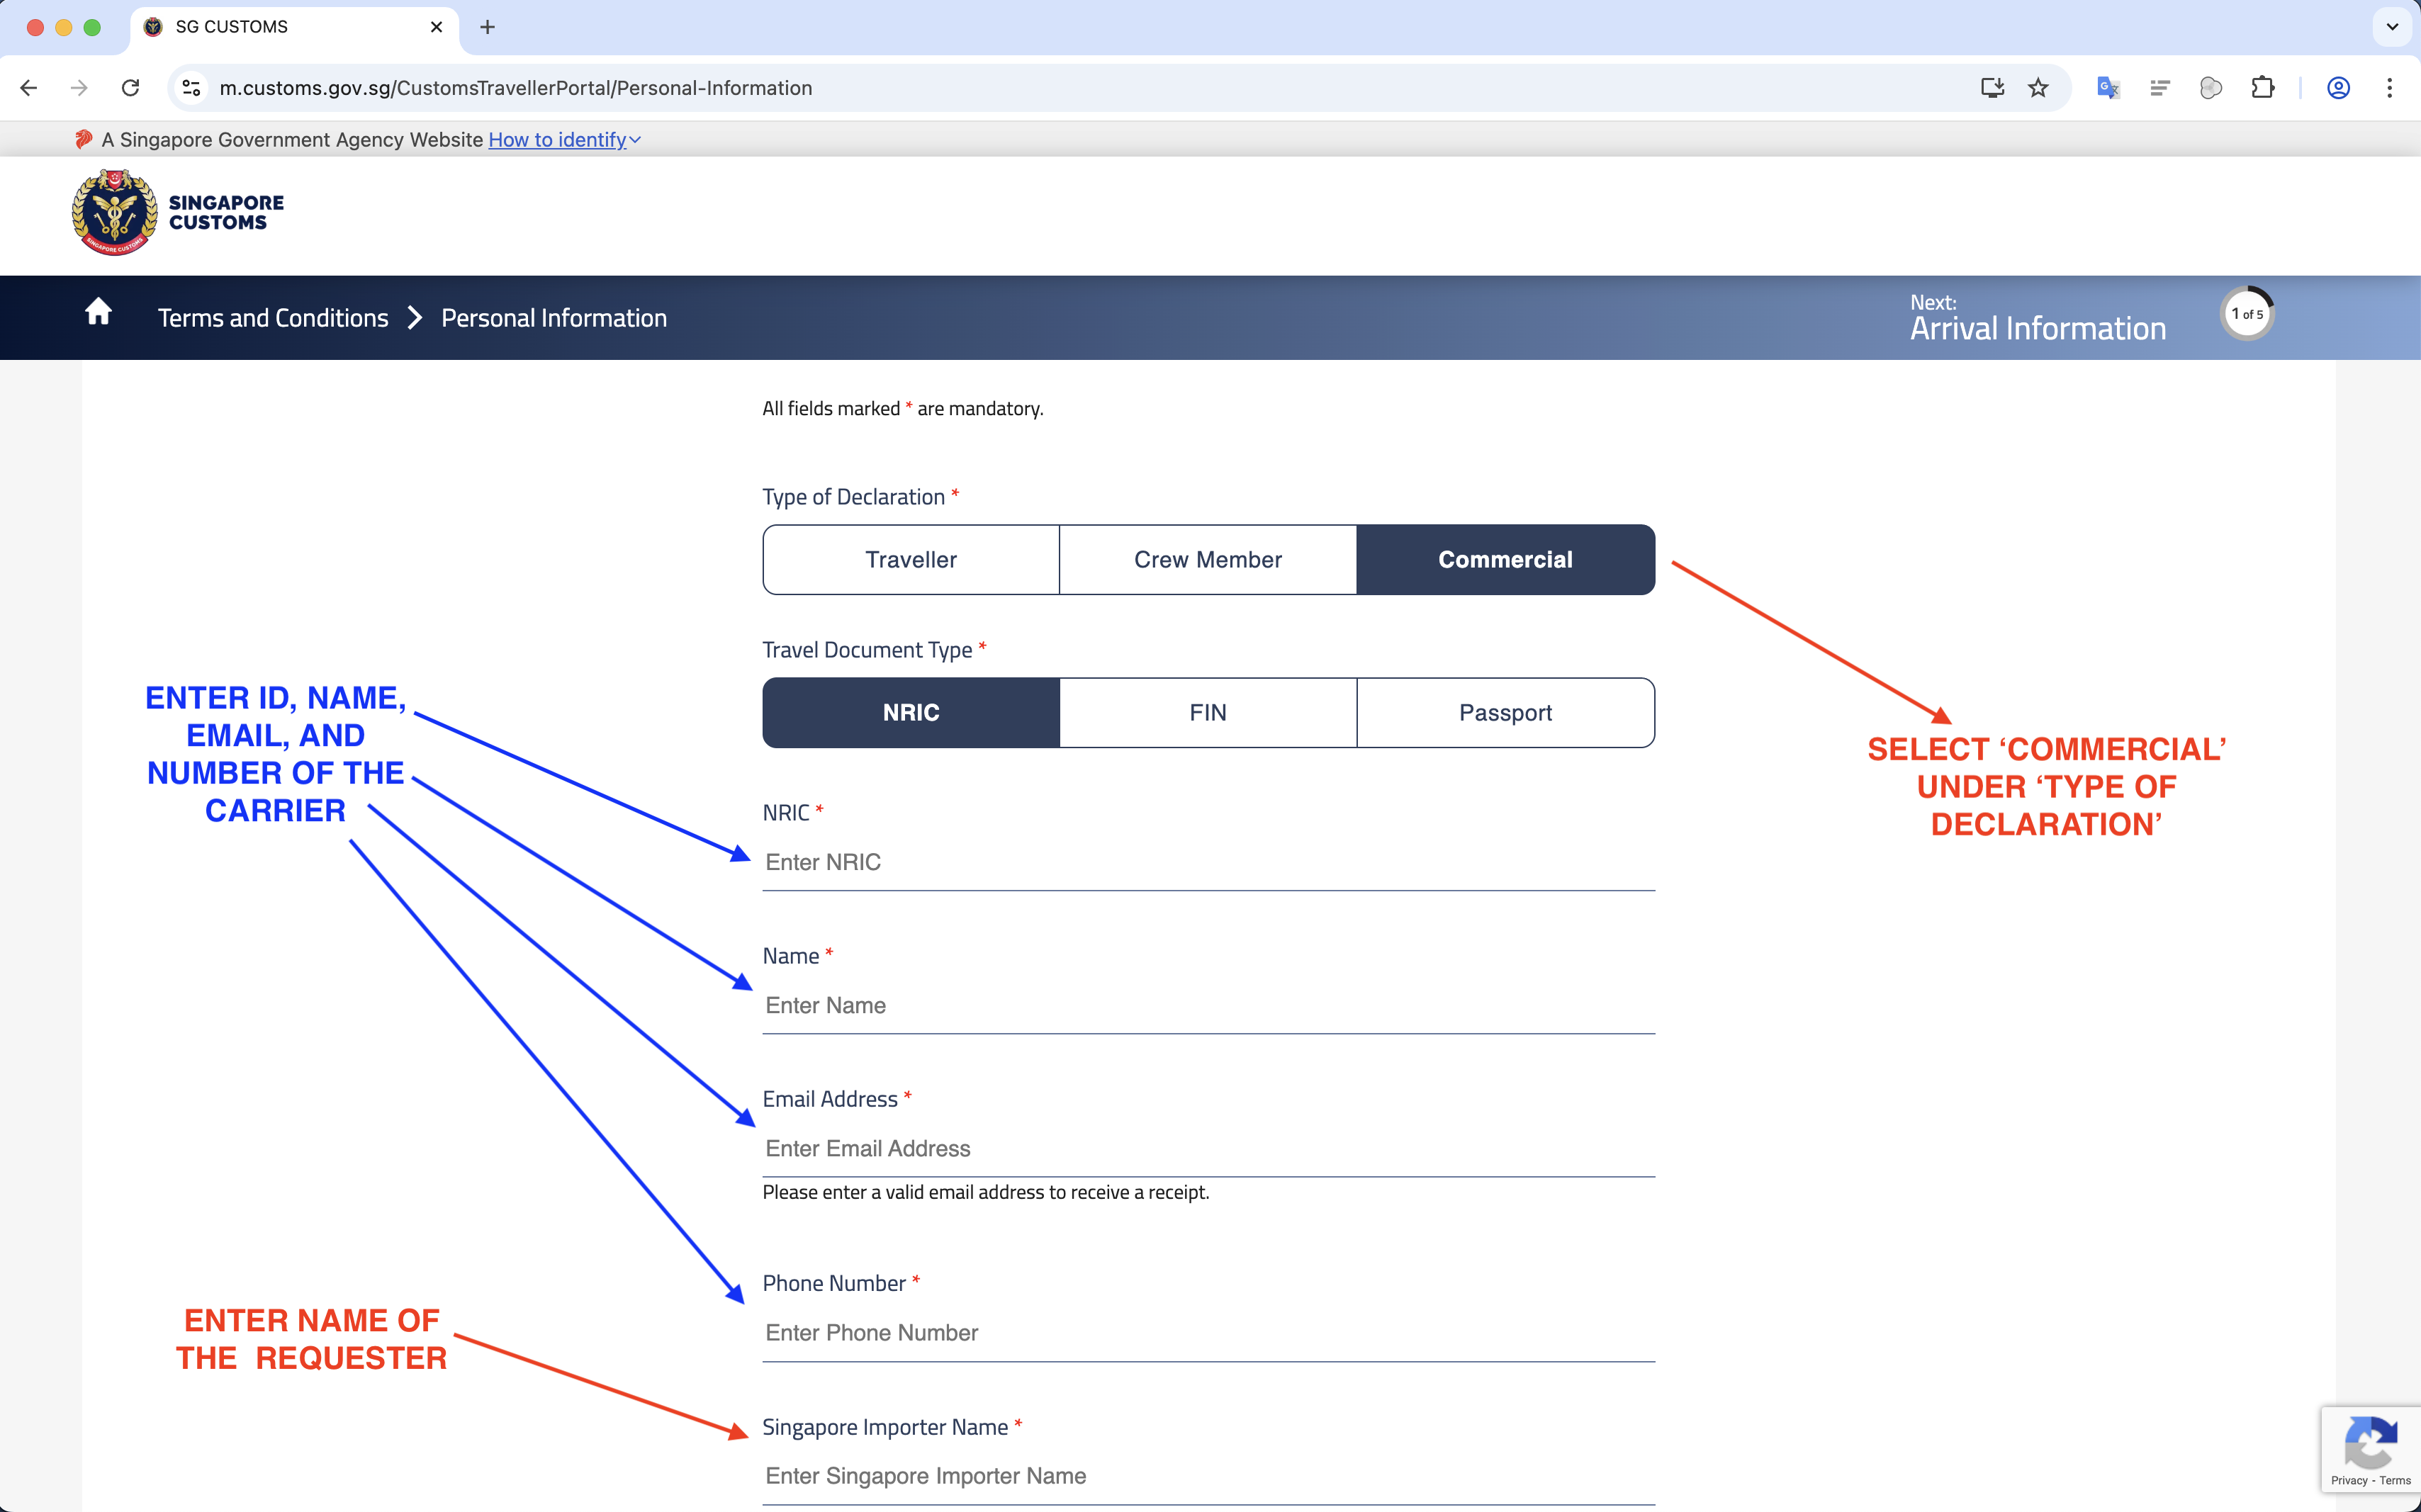
Step 4: Fill Out Personal & Importer Information
This is the most critical step. Fill out the fields as follows:
- Type of Declaration: Select "Commercial".
- NRIC, Name, Email, Phone: Enter Your Details (the Traveller).
- Singapore Importer Name: Enter the Requester's Full Legal Name that you got from the Qerrier app in Step 1.
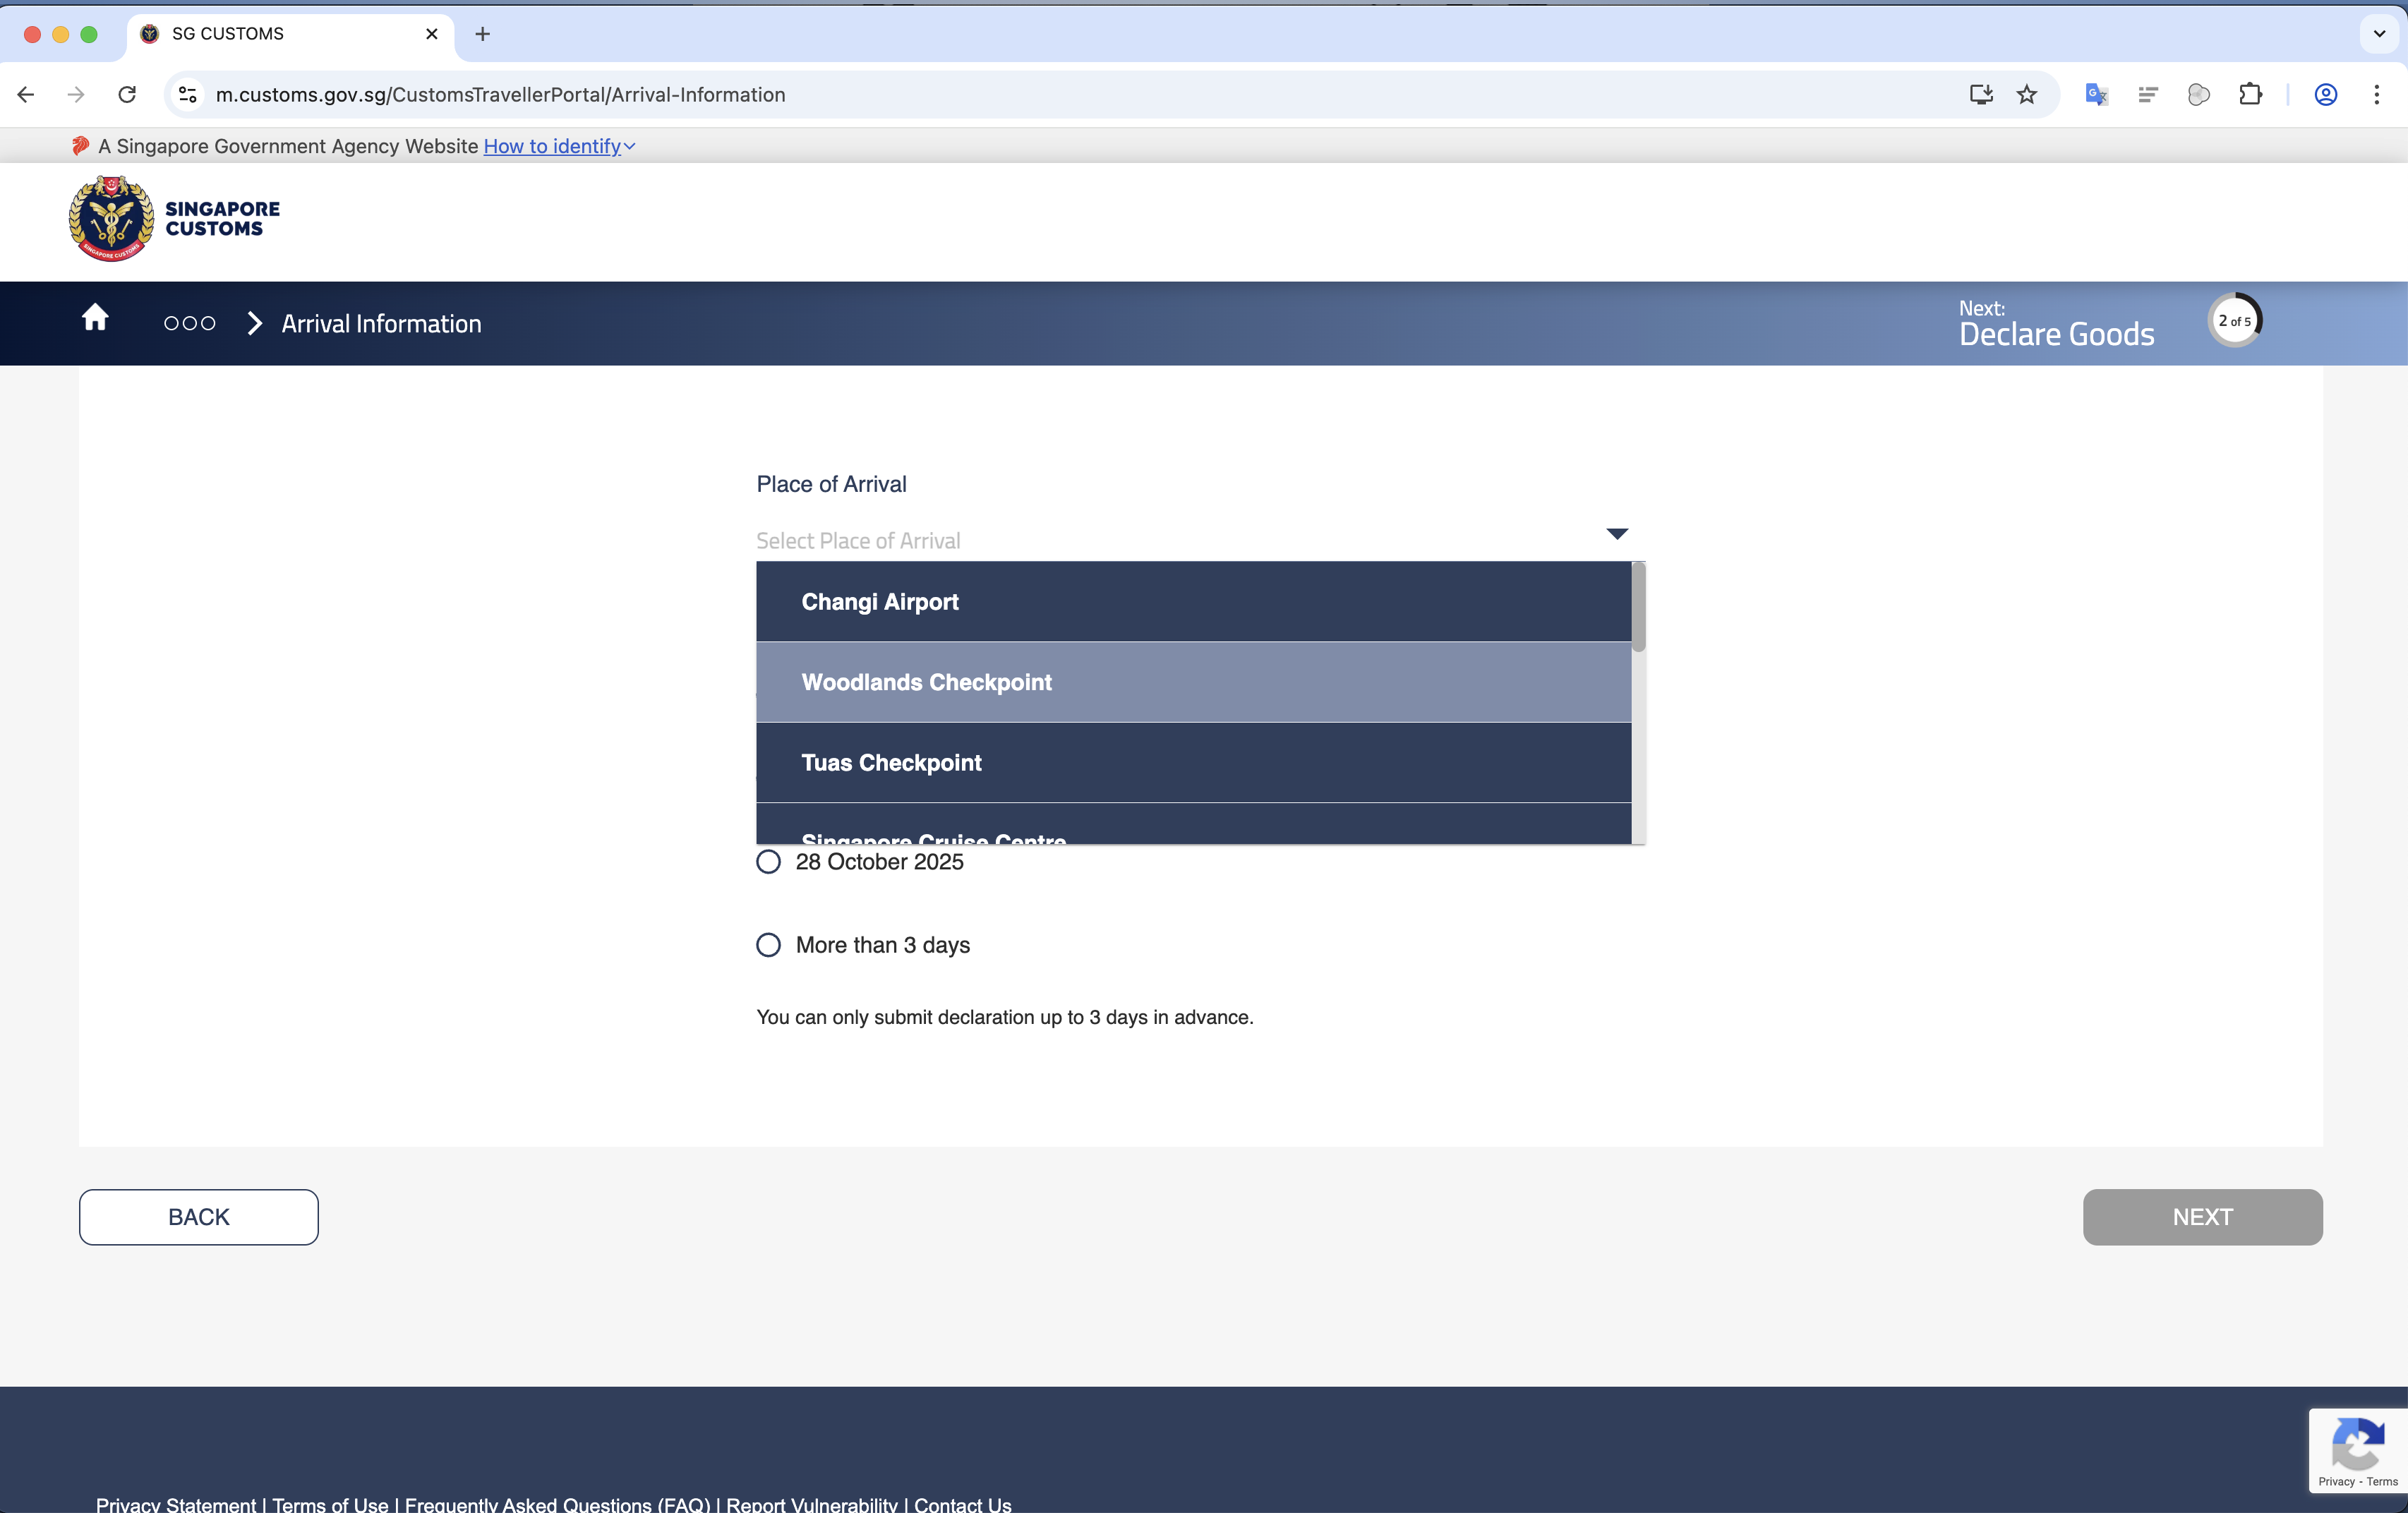
Step 5: Fill Out Arrival Information
Select your "Place of Arrival" (e.g., "Woodlands Checkpoint") and the date of your arrival. Click "NEXT".
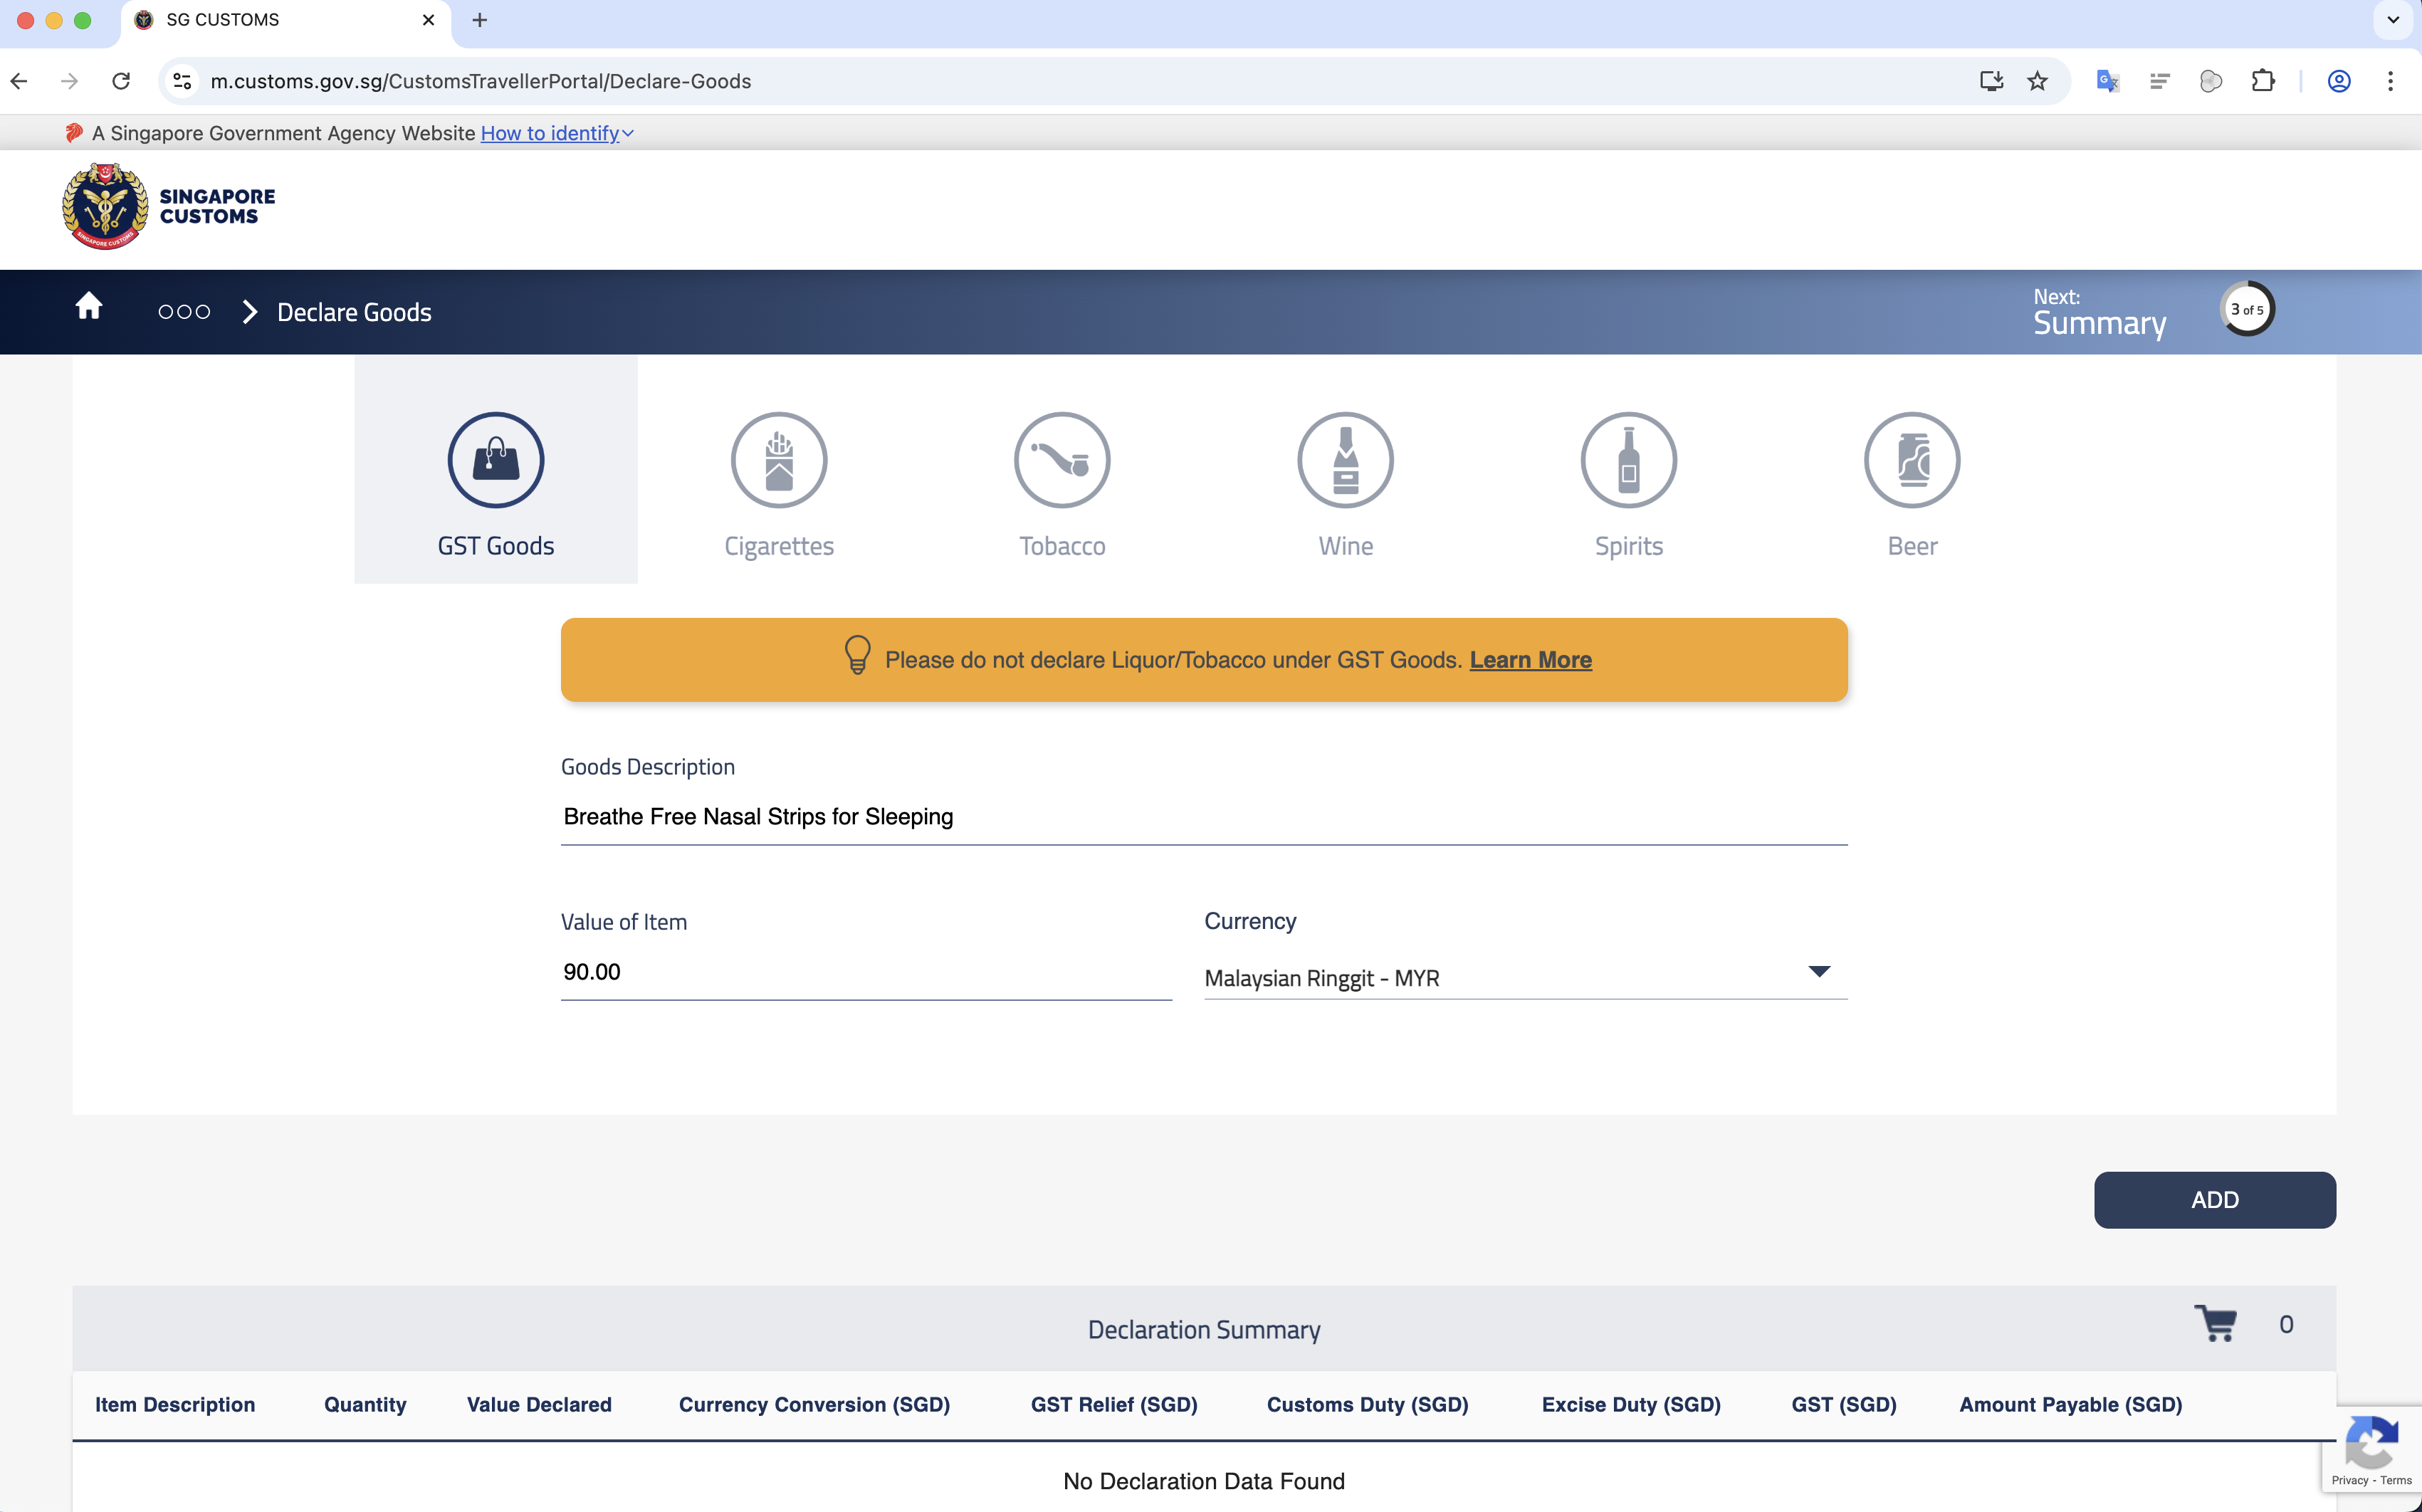
Step 6: Declare Your Goods
Add your item(s). Enter the "Goods Description", the "Value of item" (in its original currency), and select the "Currency" (e.g., Malaysian Ringgit). Click "ADD".
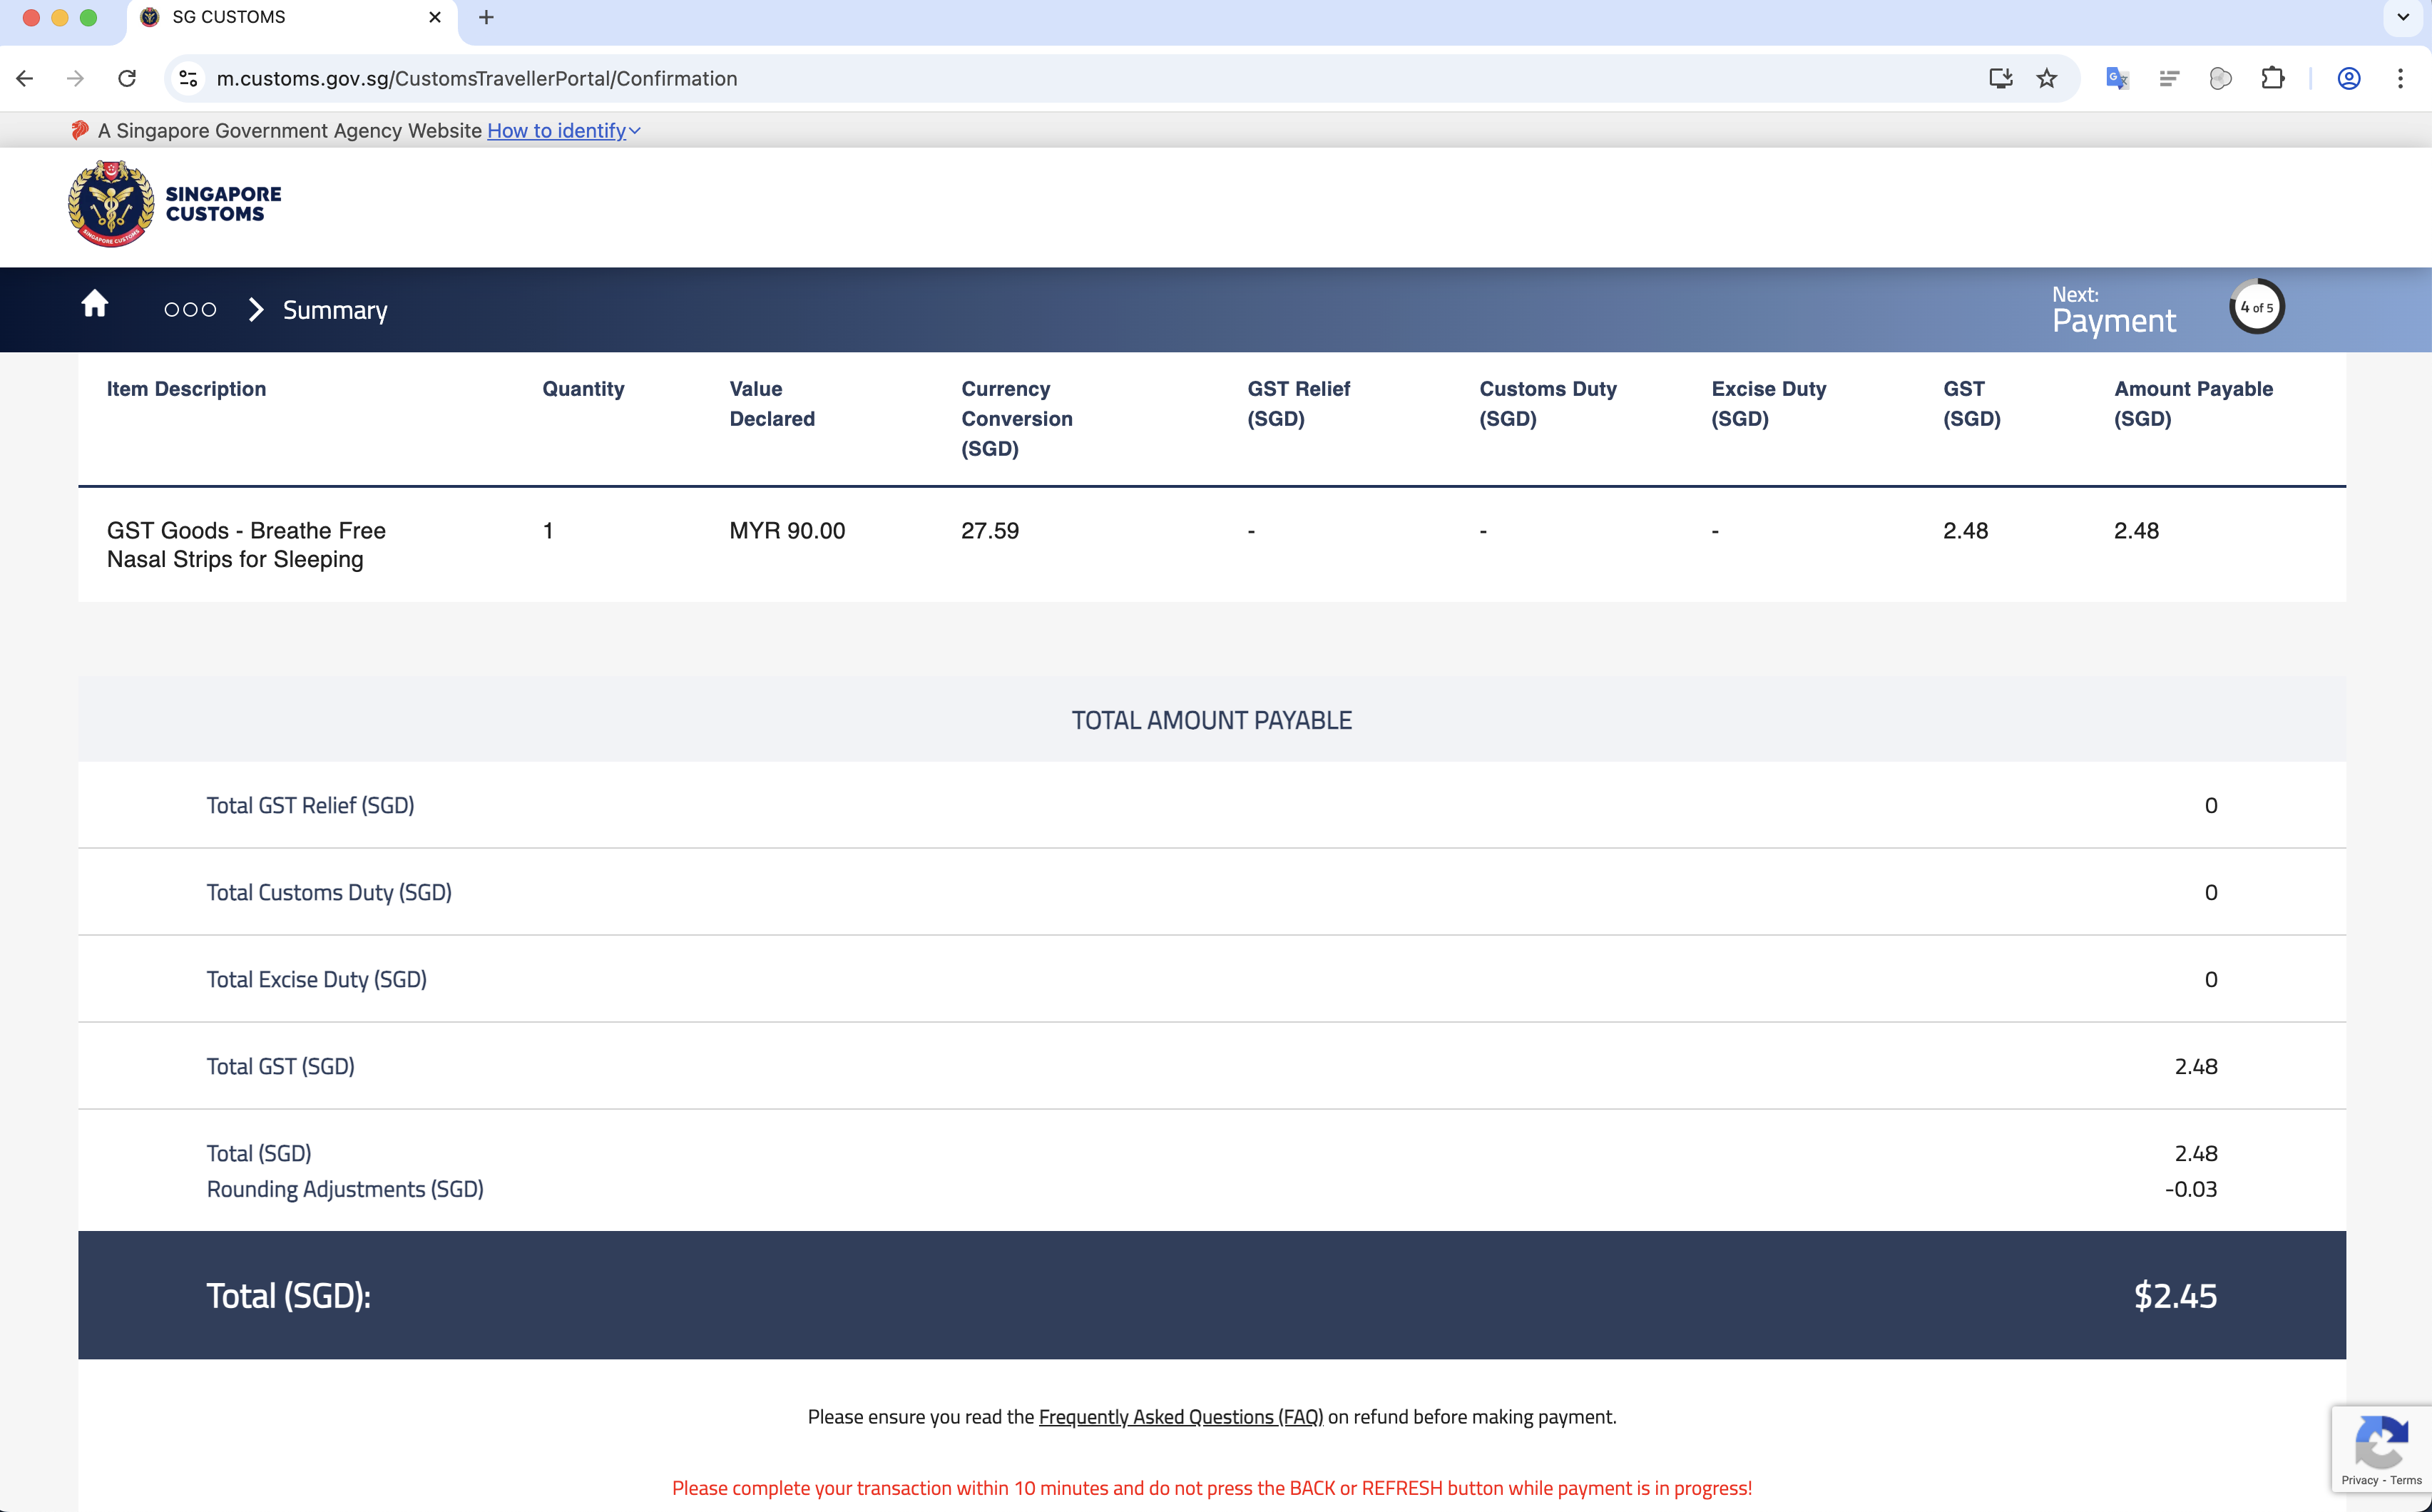
Step 7: Review Summary
The app will show you the summary, including the SGD conversion and the calculated 9% GST (e.g., $2.48). Review this and click "Next" or "Confirm".
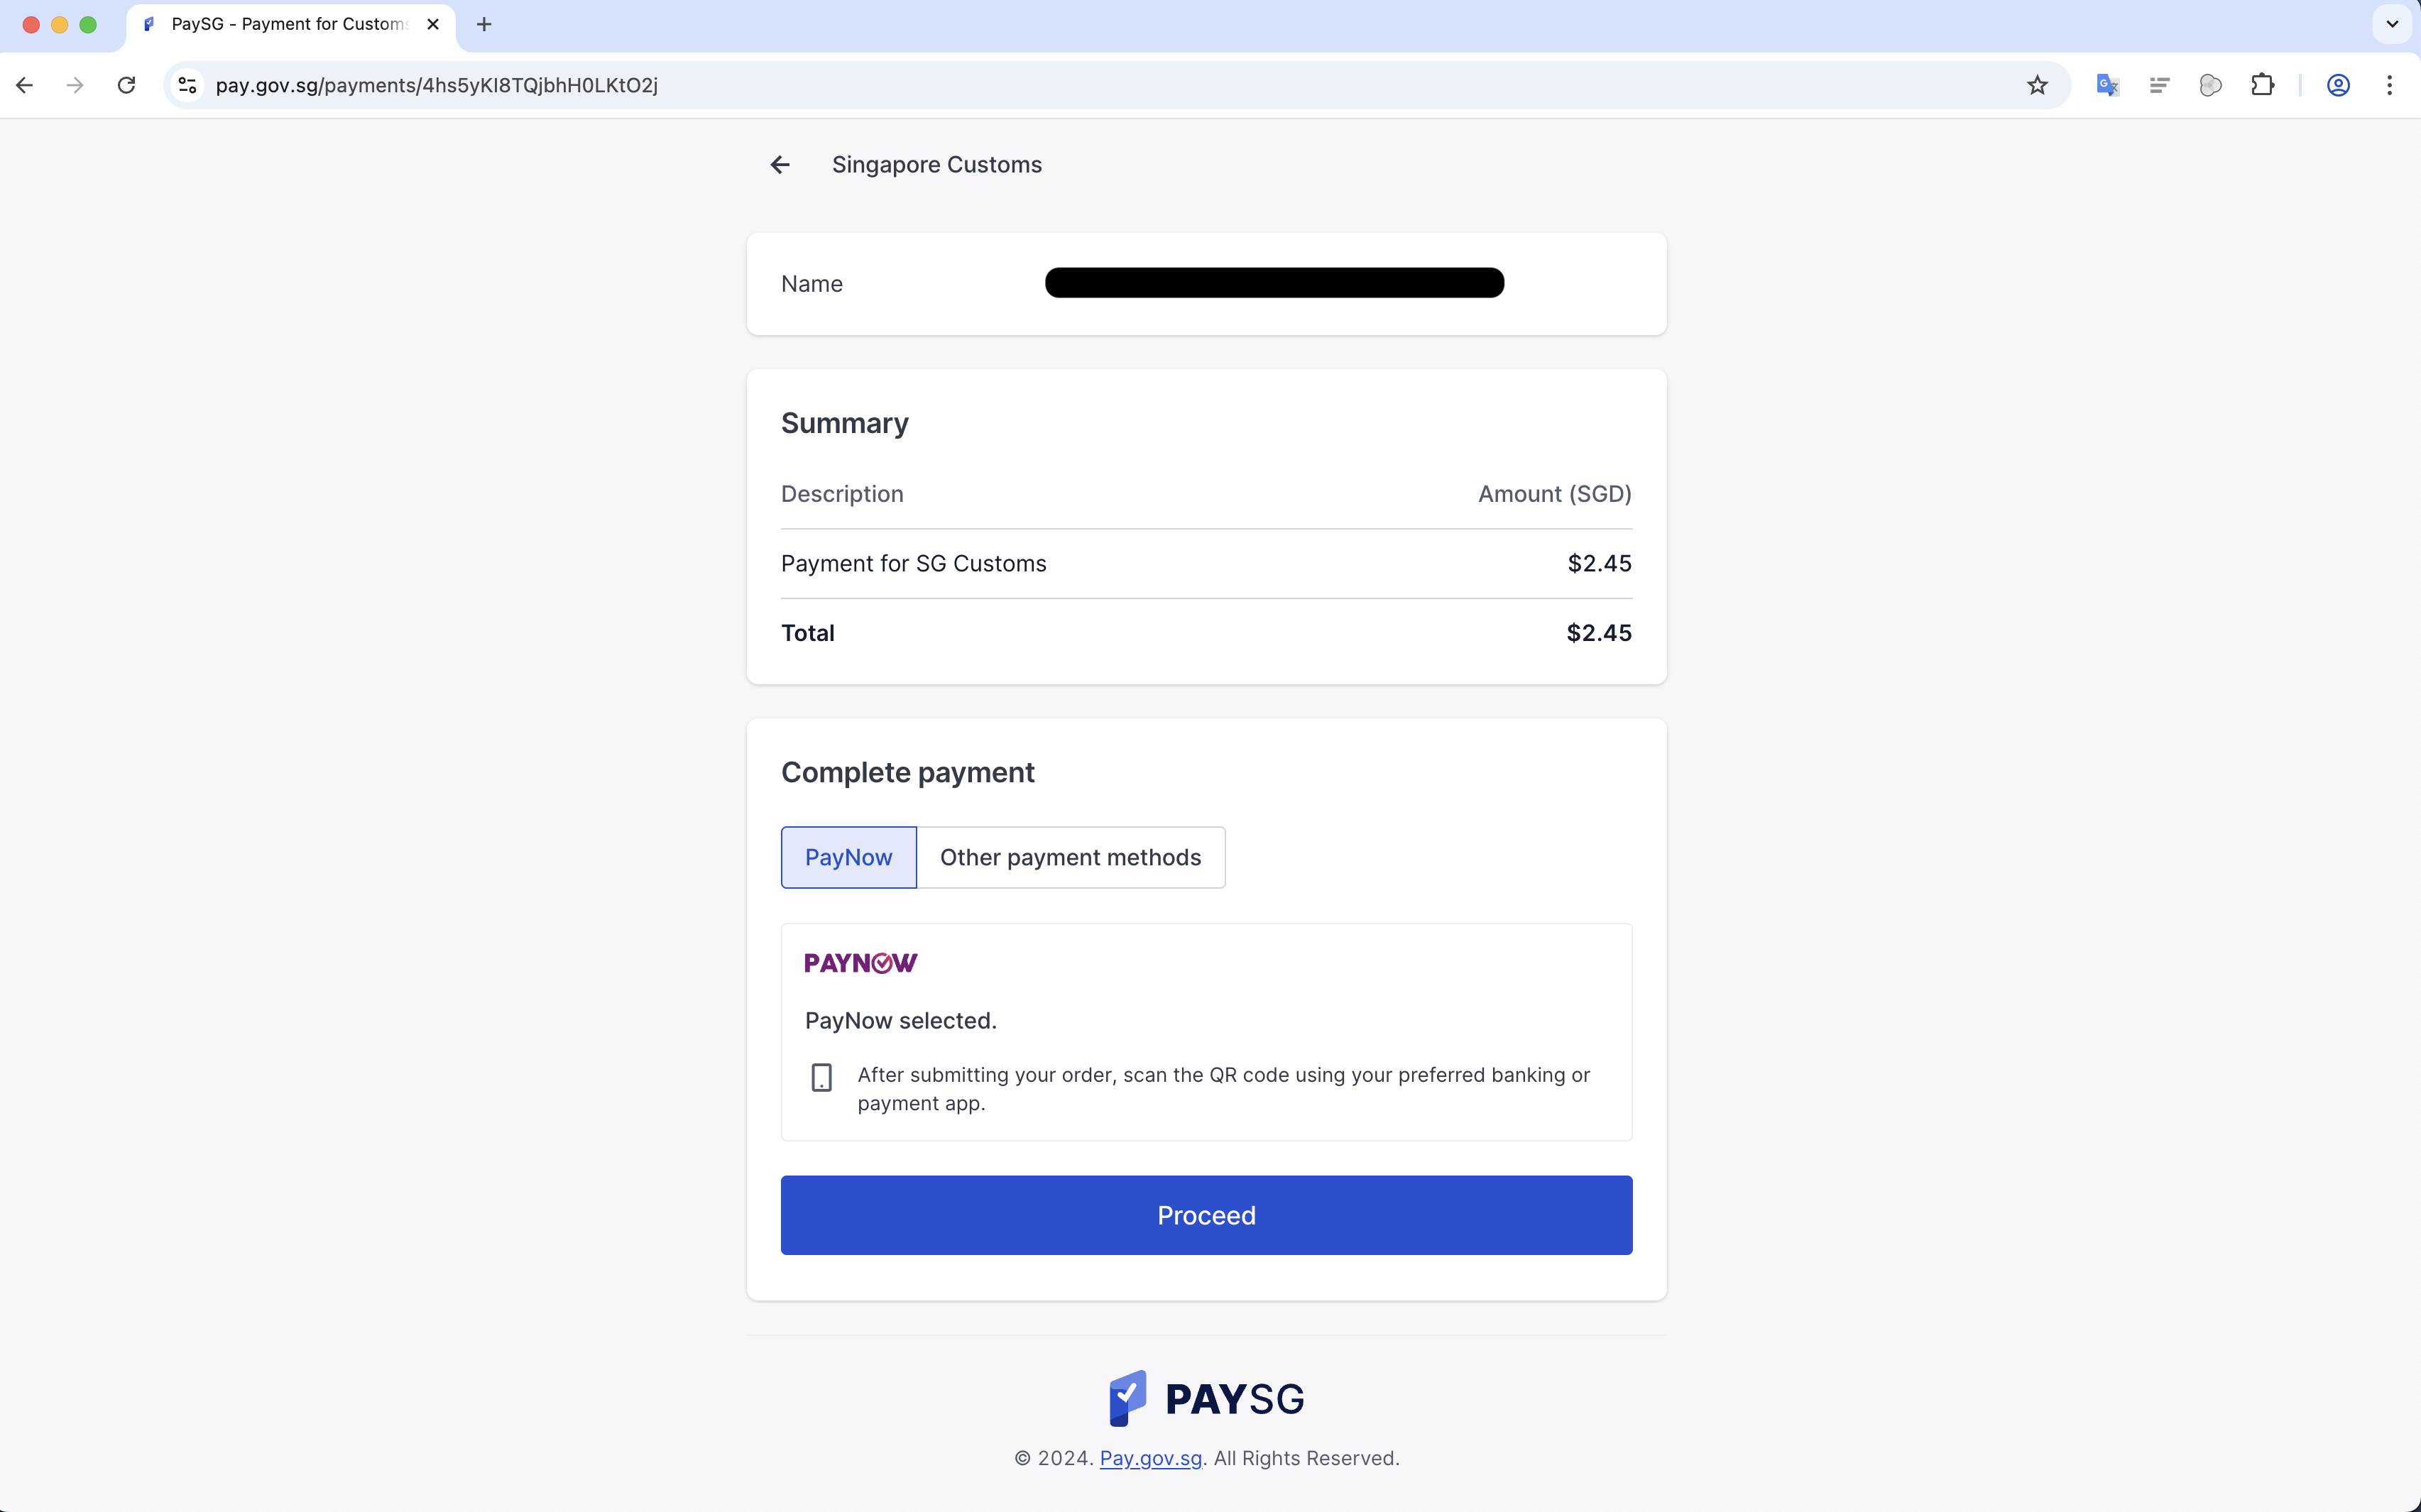
Step 8: Complete Payment & Save Receipt
You will be redirected to PaySG. Complete the payment (e.g., via PayNow).
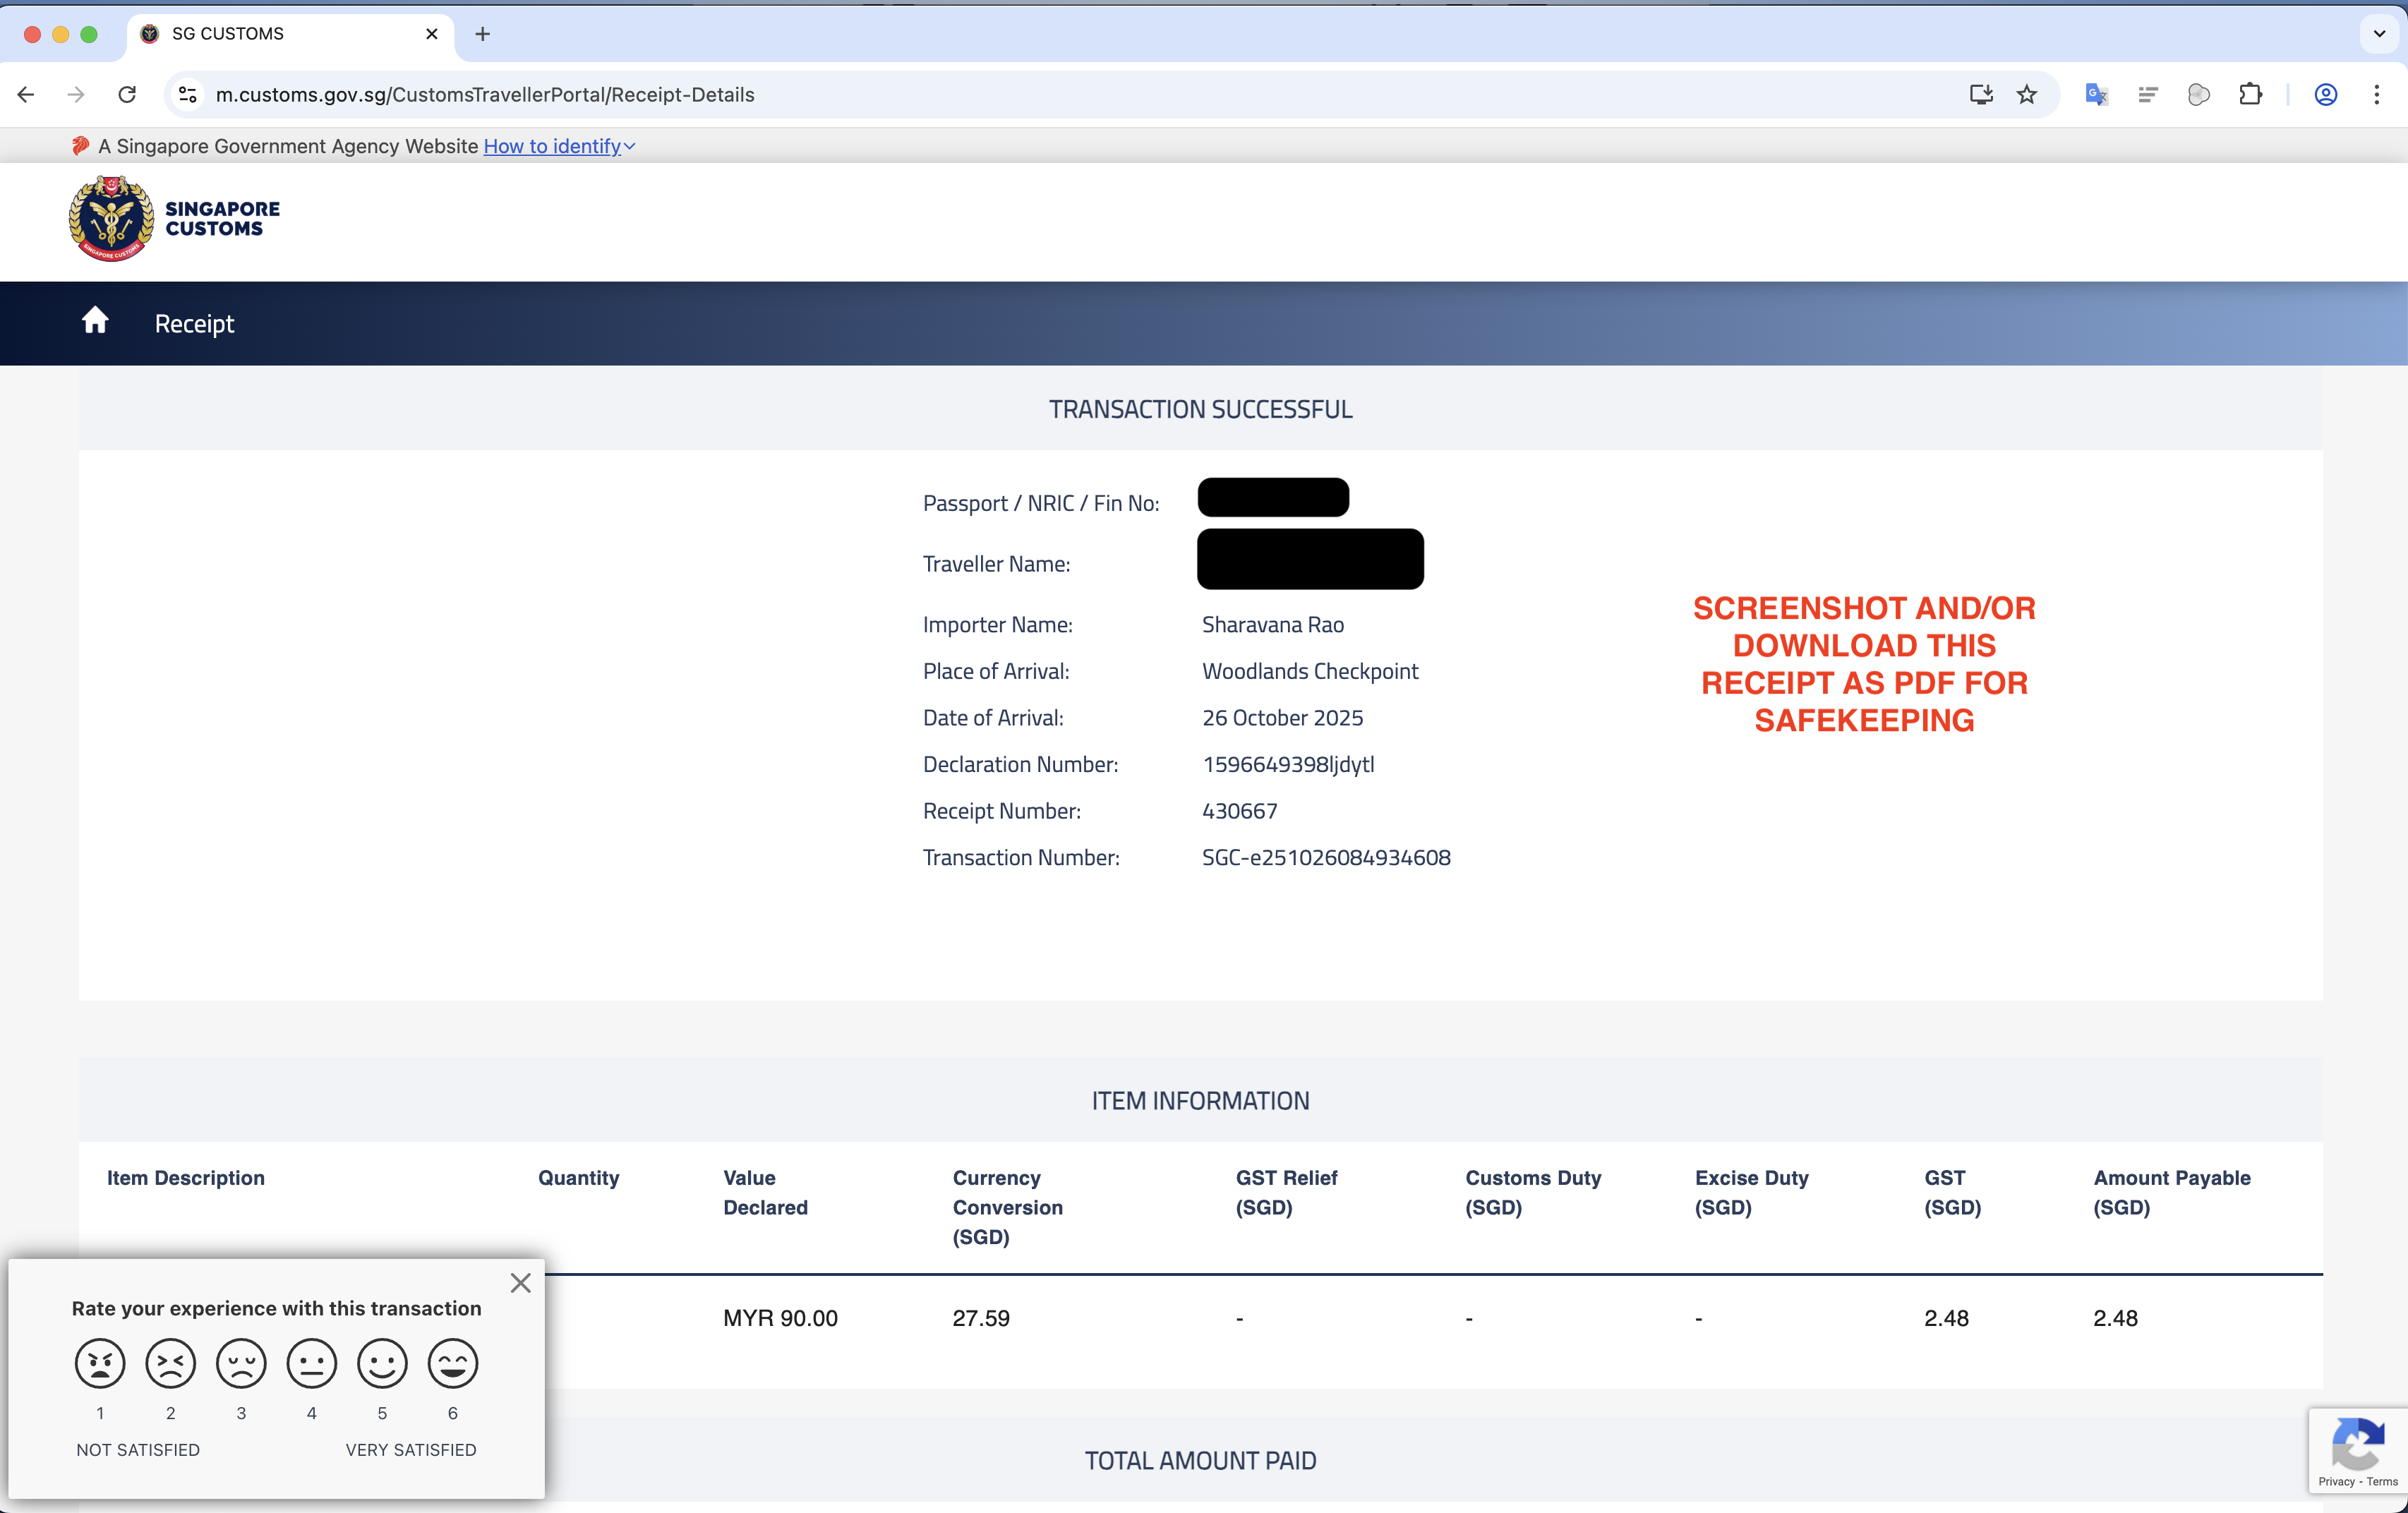
Once paid, you will see a "TRANSACTION SUCCESSFUL" page. You MUST save this receipt. Take a screenshot or download the PDF version. You will need to upload this to Qerrier.
Part 2: Submitting Receipts on Qerrier
Once you have both the item receipt and the GST receipt, you can submit them on Qerrier for the Requester's approval.
Step 1: Go to the Job Chat
Open the Qerrier app and navigate to the chat for your active job.
Step 2: Click "Upload Receipt"
In the chat action area (where you type), a blue button will be visible that says "Upload Receipt" (or "Edit Submission" if you've uploaded before). Click it.
Step 3: Enter Final Item Cost (Pre-GST)
A modal will pop up. In the field "Final Item Cost (SGD)", enter the total cost of the items only. This is the same value you entered in the customs app. The customs app would have converted it to SGD for you. Enter this SGD amount in Qerrier as the final cost.
DO NOT add the 9% GST to this number. Qerrier will add the GST for you in the summary so the Requester sees the full breakdown.
Step 4: Upload ALL Receipts
Click "Add Image" and upload:
- The receipt for the item(s) you purchased.
- The receipt/screenshot for the GST payment you made in Part 1.
You can (and should) upload multiple images. This proves to the Requester that you paid for the item and paid the required tax.
Step 5: Submit for Approval
Review the "Final Charge Summary" to see the total. Once you're sure everything is correct, click "Submit for Approval".
The Requester will be notified and will have 48 hours to approve the final amount. Once they approve, you can proceed to the handover!